|
|
|
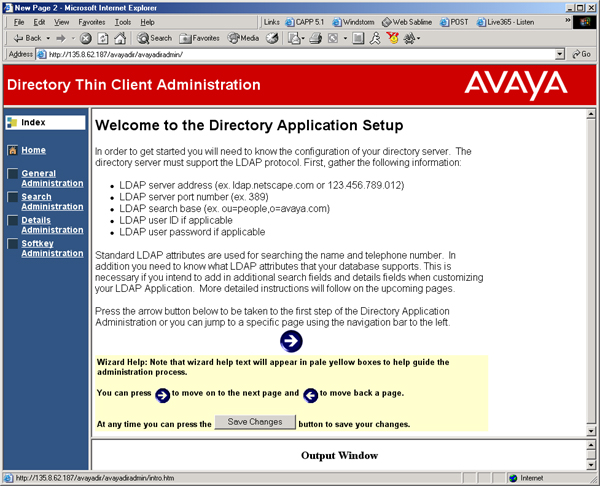
The Directory application file you download from the Avaya website contains five primary screens on which you administer and customize the Thin Client Directory. Additionally, each administration screen has embedded Help to guide you through the administrative process. The primary screens are:
Each screen has required and optional parameters. The input fields have a definition and/or explanation of what is required to their right in the yellow areas. There may also be yellow Help areas at the bottom of a screen to help you populate the screens correctly. You can select the Home option from the left side of any administration screen to return to the Welcome screen (Home page).
The bottom of each screen provides navigation and save options, as illustrated below:
After entering the values for a screen, press the Save Changes button to save your entries, then use the Right Arrow or Left Arrow buttons to move from that screen to another. Pressing an arrow button without first saving what you entered or changed causes a dialog box to display. The dialog box lets you confirm that you do not want to retain your entries (or any changes you’ve made to existing values) or allows you to select Cancel to return to the screen and save the data.
Configuring the required information in accordance with the instructions in this section allows the Thin Client Directory application to communicate properly with the LDAP server. After configuring and saving the required information, test the Directory application to be sure the user interface screen values are correct, that the application is interfacing properly with the LDAP server, and that the Directory Application server is interfacing properly with the end user’s phone.
|
|
|