Modifying a User Account
To modify a user account:
- In the navigation pane, expand the System > Administration folders.
- Click User Accounts. The User Account Management Web page is displayed in the content pane. See Figure�12.
- In the User Name field, select the user account that you want to modify.
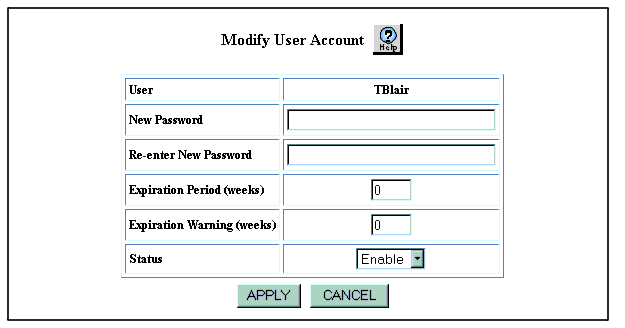
- Click Modify. The Modify User Account Web page is displayed in the content pane. See Figure�14.
Figure�14:�Modify User Account Web Page

- To change the user password:
- In the New Password field, enter a new password for the user name. Passwords can consist of a maximum of 31 characters.
Note: Do not use a combination of the following special characters for the password ;, ?, \,(,),#, $,%, ^, &, or *.
- In the Re-enter New Password field, reenter the password that you entered in the New Password field.
- To change the number of weeks for which the user account is valid, change the setting of the Expiration Period (weeks) field. The expiration period can range from 3 to 999 weeks. The default setting is 0, no expiration.
- To change the number of weeks before user account expiration that the user is warned, change the setting of the Expiration Warning (weeks) field. The expiration warning can range from 0 to the expiration period. A setting of 0 indicates that no warning is generated.
- In the Status field, select Enable or Disable to change the status of the user account.
When a user account expires, you reset the account by changing the setting of this field from Disable to Enable.
- Click APPLY.
Tip: To change a user's access type, use the following CLI command:
configure)# username <name> password [encrypted-type1] <passwd> [access-type {read-only | read-write | admin | <catName>}] [mgmt-type [all] [local-cli] [remote-cli] [web]]
The Web Agent does not support modification of users' access types.
