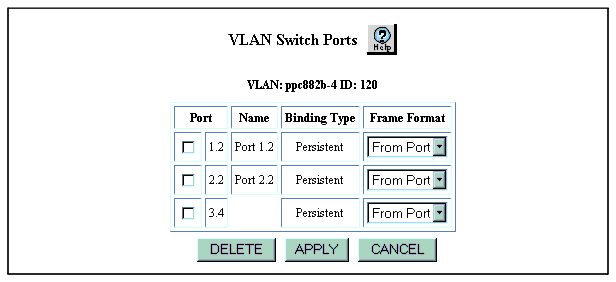
Table 6-2. VLAN Switch Port Dialog Box Parameters
| Parameter |
Defines... |
| Port |
The switch port associated with the VLAN. |
| Name |
The switch default port name or the user assigned port name. |
| Binding Type |
- Static - when switch ports are added manually and can be removed
- Persistent - when switch ports are bound to VLANs automatically but can not be removed. automatically (i.e., if the binding for a switch port is set to 'Bind to All').
- Dynamic - when a switch port is assigned to VLAN using automatic VLAN binding,(i.e. if the binding for a switch port is set to “Bind to Received”). The VLAN may be deleted, but if the port VLAN binding is “Bind to Received”, the VLAN may be re-added by receiving tagged traffic. This causes the port to again dynamically bind to the VLAN.
|
| Frame Format |
- From Port - causes port to send frames using the frame format specified in the Trunk Mode attribute of the corresponding switch port.
- Clear - causes port to send untagged frames on this port for this VLAN.
NOTE: Note: See “VLAN Introduction” earlier in this chapter.
|
|
|
