|
You need to set up the server to work correctly on the customer's
local area network.
Use the completed Installation planning forms to enter the correct
information.
To set up network addressing settings:
- Log in to the system.
- Start at the Administration menu, and select Basic System
Administration > TCP/IP Administration > Network
Addressing.
The Networking Addressing page displays.
- Complete the Network Addressing page using the customer-provided information. See the online Help for additional information
about each field.
- Click Save at the bottom of the Network Addressing page.
A message displays indicating that you must restart the browser
because you modified the host name.
- Click OK.
- If you see a confirmation message, click Continue Submission
to proceed.
Note: You can deselect the "Show this
alert next time" option in the message box (click the button
so it is light in color) to prevent the confirmation message
from appearing again.
- Click Logoff to log off for now.
Follow the instructions on the Logoff screen. For example,
you might be advised to wait 1 minute before logging back in.
The system then display the following message:
host name login:
- Verify that the host name in the login prompt is the
same name you entered in the Host Name field on the Network Addressing
page.
- Log back into the system as craft or dadmin using the appropriate
password.
Accessing the Web-based administration pages
After you configure the system's network addressing settings, you
can access the system's Web-based administration from another machine
on the customer LAN using a supported browser. The following browsers
are supported for use with Message Networking:
- Microsoft Internet Explorer Versions 5.x and 6.x
- Netscape Navigator Versions Netscape 4.7x and 6.x
To access Message Networking's Web-based administration pages:
- From a machine on the customer's LAN, in a supported browser,
enter the address http://localhost.localdomain.com where
localhost is the name of the machine and localdomain
is the name of the company's domain (for example, http://mymachine.mycompany.com).
A page displays with a security notice. Message Networking
requires your browser to have a security certificate, which
is used to establish an encrypted, secure session with the Avaya
media server.
- Click About This Screen for information about
the security certificate, or click Continue to
proceed.
A dialog box displays informing you that you are about to view
pages over a secure connection.
- Click OK.
The security alert for the security certificate displays.
- You can either accept the security certificate for your current
browser session or install the certificate for the current session
and all future sessions:
- Click Yes to accept the server certificate
for the current session only. This option is recommended if
you are accessing Message Networking on a one-time basis (for
example, from a computer or browser that you do not normally
use), or if you are unable to store the certificate for future
sessions.
- Click View Certificate and then follow
the prompts to install the certificate. This option is recommended
if you are accessing Message Networking from a computer and
browser that you plan to use again. This option is not always
available and might not work on all systems. The steps to store
certificate differ depending on the browser you are using.
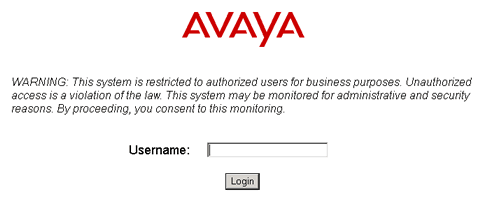
- The Username field displays.
- Type your appropriate login (such as craft or dadmin) and click
Login. The system is case sensitive, so use lowercase letters.
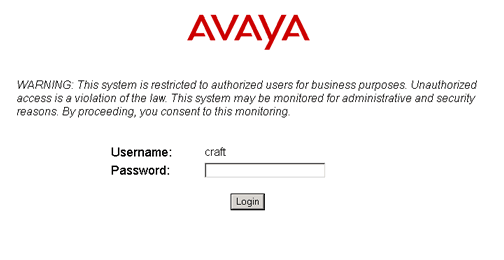
The Password field displays.
- Enter the password for your login and click Login.
The system displays the Administration menu. Select items
from the menu by clicking on them. Use the browser Back button
to return to the previous page, or click Return to Main
from any page to redisplay the Administration menu.
Top of page
|