

|
|
|
Installing the license and Avaya authentication files is a 2-step process:
The following administration uses the services laptop computer connected to the media server and uses the media server Web interface.
This procedure assumes that the license and authentication file are on the services laptop.
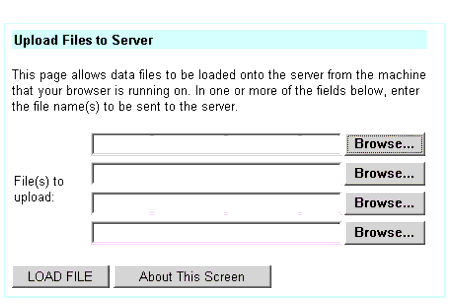
Once the license and Avaya authentication files are uploaded to the media server, you must install them.
The following administration uses the services laptop computer connected to media server�1 and uses the media server Web interface.
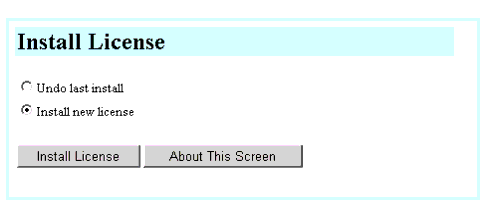
NOTE: After you install the license file, the media server will be in No License Mode until the media server recognizes the reference IPSI, which is after it receives its IP address later in the process. This is normal on a new installation.
NOTE: Installing the Avaya authentication file removes all default passwords and establishes new ones. After the installation, services logins specific to the media server are protected through Access Security Gateway (ASG).
|
|
|