This article provides instructions for administrators and call queue managers on how to assign call queue/s as the overflow queue.
Note: Call Queue overflow is only available on Avaya Cloud Office Premium & Ultimate plans
- As a system Administrator, navigate to https://service.cloudoffice.avaya.com
- Log into your account by entering your email address or user assigned phone number, followed by your password
- In the Admin Portal, go to Phone System > Groups > Call Queues and select the call queue to be configured
- Click Call Handling & Members
- Click Wait Settings
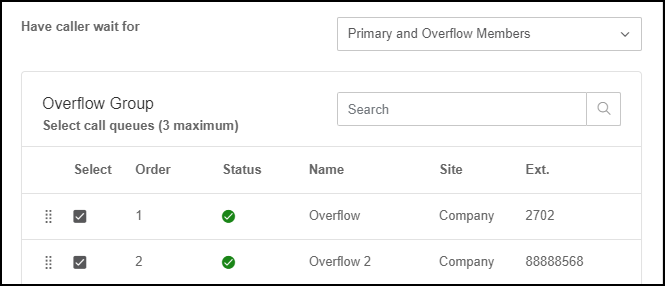
- Set Have caller wait for to Primary and Overflow Members
- Select from the existing call queues in the list to be used as the Overflow Queue/s. A maximum of three (3) Call Queues can be selected.
- Click Save
Note: If more than 1 Call Queue is selected, the order of overflow can be changed by dragging the call queue up or down the list.
Note: Call Queue Overflow can be disabled by setting Have caller wait for back to Primary Members
Note: Call Queue Overflow cannot be enabled if the primary Call Queue is set to Simultaneous ringing in its Call Handling settings. If Simultaneous Ringing is turned on, you will get a pop-up notification to change your call handling preference to Longest Idle or Fixed in order to enable the overflow queue.
Here is the location of the Overflow feature;
Please refer to this related article: Avaya Cloud Office : Overflow Call Queue Overview