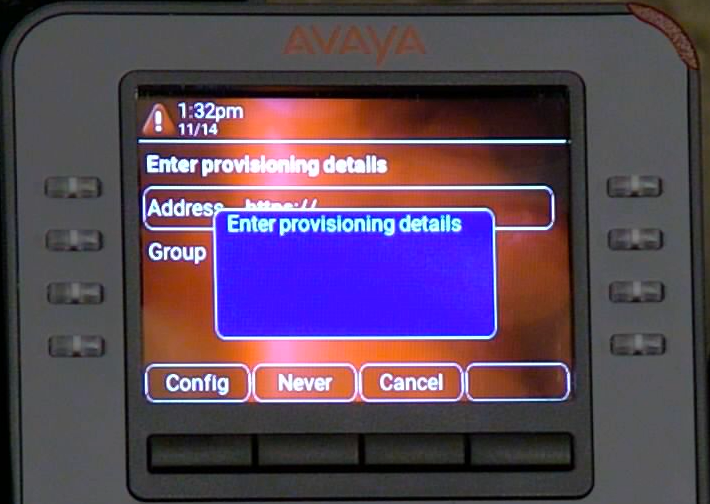
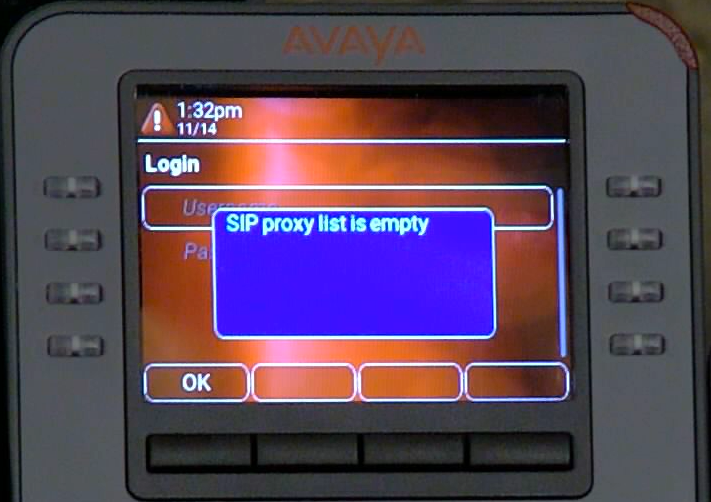
At this step in the Provisioning Process, the J100 is connecting to https://des.avaya.com. If this step cannot be completed you will see the following error on the device display:
 NOTE: After modifying any of the programming below, you will need to reboot the J100 device, and in some cases may need to reset the device to defaults to allow it to obtain all new settings. To reset the J100 to Default Click here
Steps to Troubleshoot from the J100 Phone Menus: (You can use the J100 Web Menu to diagnose, please click here)
NOTE: After modifying any of the programming below, you will need to reboot the J100 device, and in some cases may need to reset the device to defaults to allow it to obtain all new settings. To reset the J100 to Default Click here
Steps to Troubleshoot from the J100 Phone Menus: (You can use the J100 Web Menu to diagnose, please click here)
In order to troubleshoot the phone, you will need to enter the Admin menu. Begin by pressing the
Cancel Softkey (in the screenshot above). Then, press the
OK button and on the next screen press
More (as seen in the screenshots below).
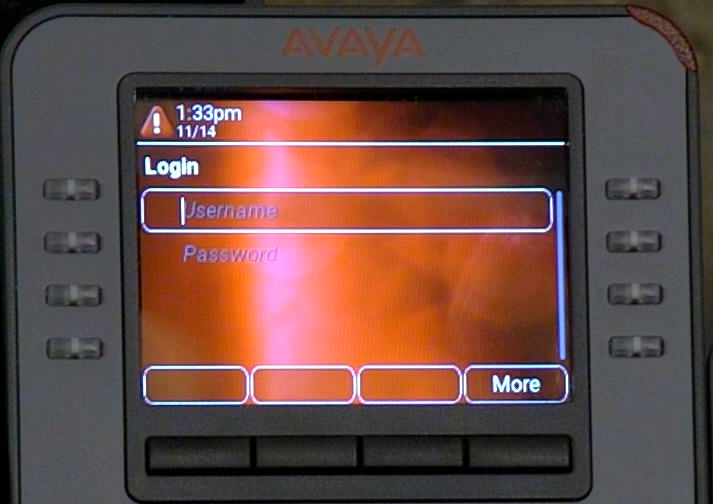
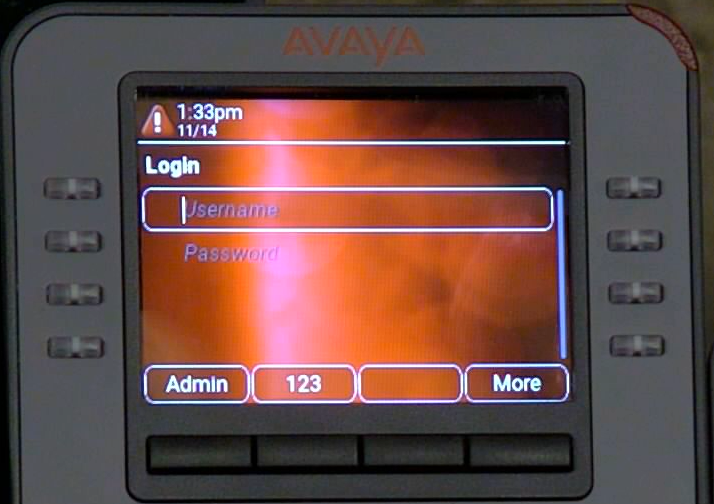
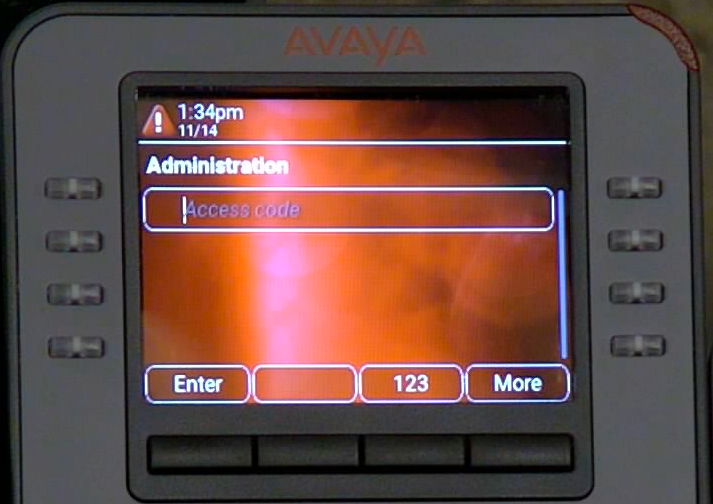
This will take you to the Admin Login Page. Press the
Admin Softkey and then enter the password for the phone (Default 27238).
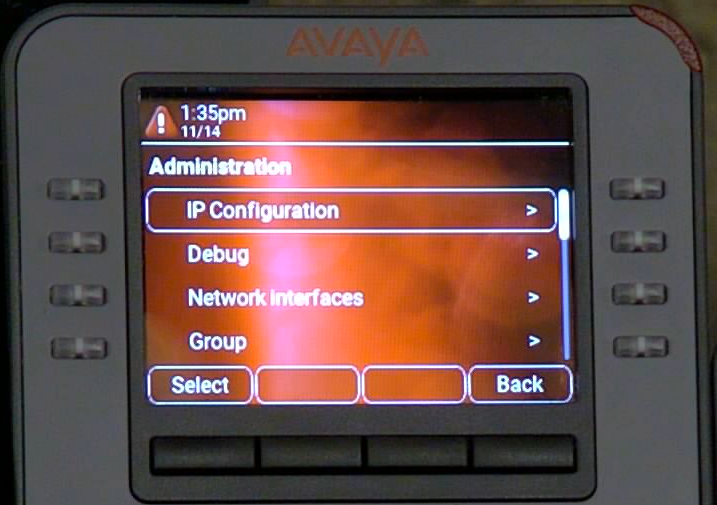
Once you are logged into the Device, using the Directional Pad on the phone select (Using the center Button) the
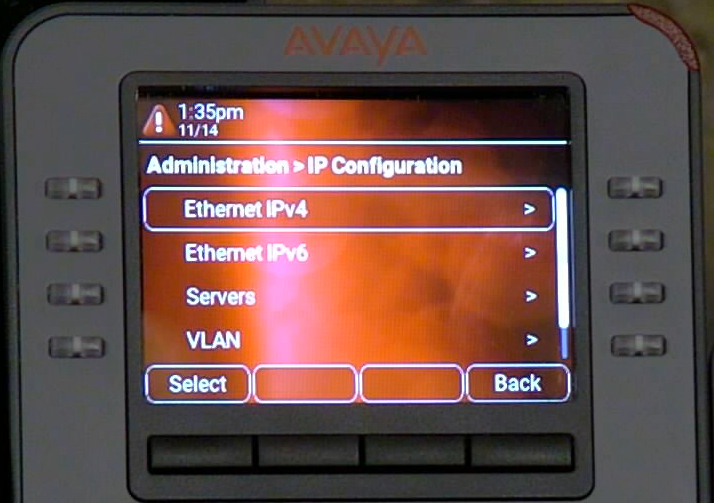
IP Configuration and then select
Ethernet IPv4
Under this heading you can see the IP Address , Gateway and Subnet mask provided to the J100 via the DHCP Server. Confirm that these values are valid on your network and have access to the Public Internet.
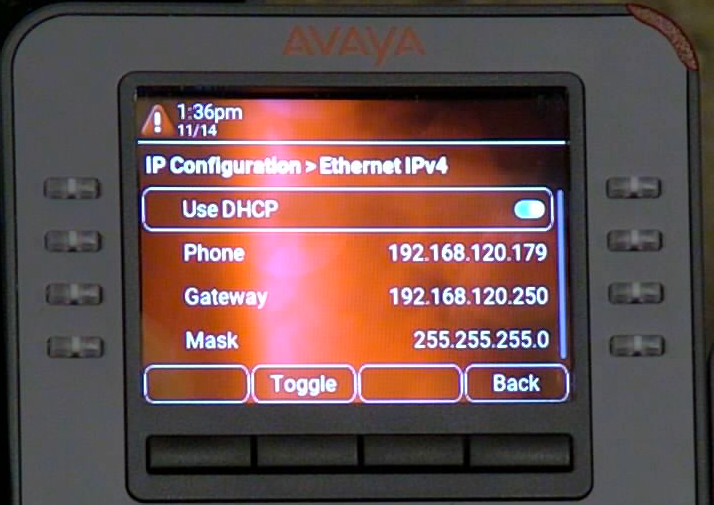
If this is not a valid address on the customer network connection and make sure that the J100 is being connected to the correct network segment. Also have the customer verifiy that their DHCP Server is handing out a valid IP Address / Subnet and Gateway. Also have them check to see if there are more than one DHCP Servers on network that the J100 is connecting to.
Go back one step and Scroll down to
VLAN (If appicable. If not using VLAN, please skip to the next step)

Go back one step and Scroll down to
Servers, and confirm the there is no HTTP ot HTTPS Provisioning Server:
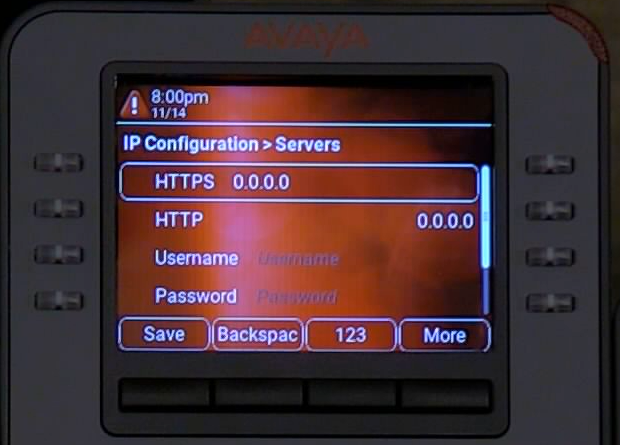
If there are entries in the provsioning field of anything other than blank or "av.ringcentral.com" then these need to be investigated. The J100 can get this information via DHCP Option 242, LLDP, or manually configured via phone menu or Web menu. The address provided in this field should help to direct what device is trying to provision the J100. Once this external provisioning server is cleared from the settings, you will need to clear this setting from the j100. To do this you must reset it default and allow it to auto provision automatically again.
To reset the J100 to Default Click here
Scroll down in
Servers and confirm the DNS IP Address.

Using a PC on the same customer network segment as the phones you can test the DNS server resolution by going to a Command Prompt and typinh
nslookup des.avaya.com x.x.x.x where
x.x.x.x is the DNS Server IP in the screenshot above:

You can also test by performing the same lookup and using another
DNS Server just by replacting the
x.x.x.x with a known working DNS IP Address:
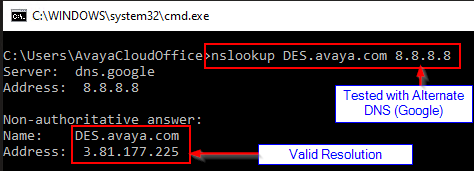
If the currently configured DNS Server cannot resolve
des.avaya.com you will need to have the customer update their DNS server or change the DNS server provided by DHCP with a valid DNS server that can resolve
des.avaya.com.
---------------------------------------
Steps to Troubleshoot from the J100 using the Web Menus:
Since the J100 has not yet connected to obtain a provisioning file yet, the web service is turned off by default on this device.
From this point to log into the menu on the phone you will need to press the Cancel Softkey at the bottom of the screen sceen above. Then press the OK button and on the next screen press More (Screenshots Below)
This will take you to the Admin Login Page, press Admin Softkey and enter in the Password for the phone (Default 27238)
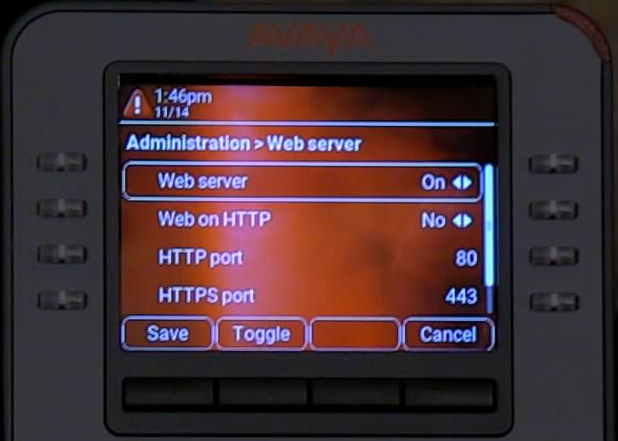
Once you are connected scroll down to
Web Server, and select the top "
Web Server" option and toggle the setting to On:
 Warning: Do not make any other changes. Doing so may render the J100 phone unusable and may require it to be reset to default. Only change the Automatic Update Window as instructed in this article.
Process:
NOTE – This must be completed from a computer with access to the local area network (LAN) the phone resides on.
Additionally, the IP Address of the phone must be known. Here is a link for the process to find the IP Address of an individual phone - Link
Login to the web page of the phone:
NOTE - If the above password does not work, please open a support case for assistance - Link
First thing to check when logged in on the Web Menus is the IP address, subnet, gateway and DNS for the J100:
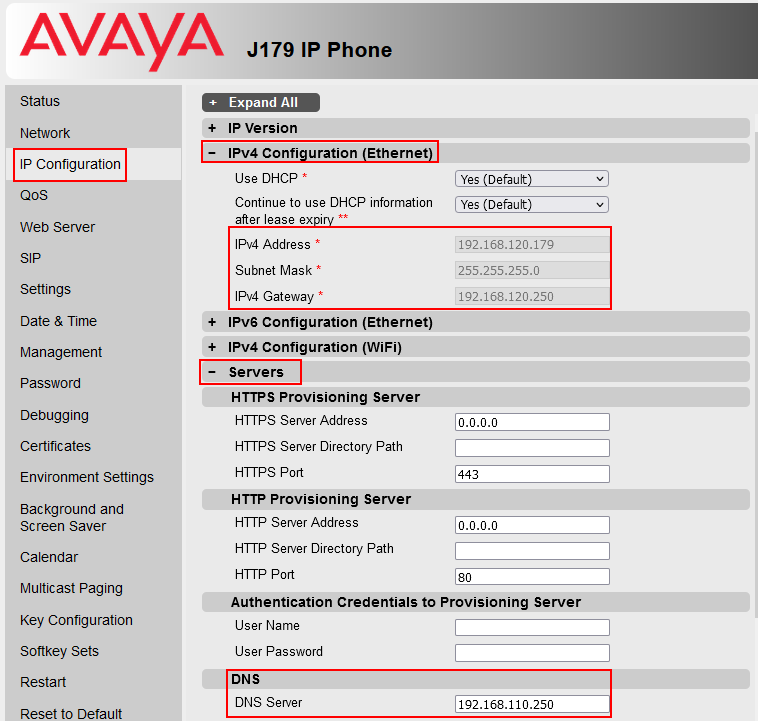
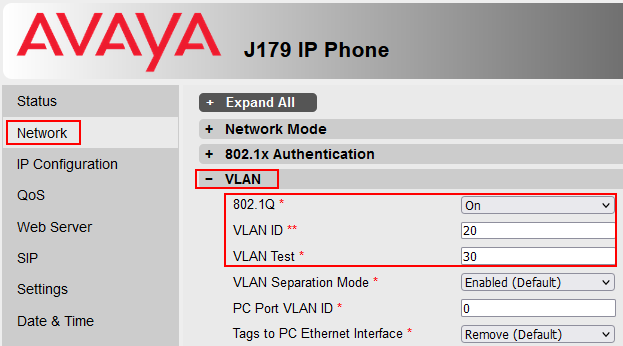
Also if using VLAN confirm the VLAN Settings (If not Using VLAN skip this step)
Using a PC on the same customer network segment as the phones you can test the DNS server resolution by going to a Command Prompt and typinh
nslookup des.avaya.com x.x.x.x where
x.x.x.x is the DNS Server IP in the screenshot above:
You can also test by performing the same lookup and using another
DNS Server just by replacting the
x.x.x.x with a known working DNS IP Address:
If the currently configured DNS Server cannot resolve
des.avaya.com you will need to have the customer update their DNS server or change the DNS server provided by DHCP with a valid DNS server that can resolve
des.avaya.com.
If this does not resolve your issues, please open a Support ticket and attach a Phone Report Obtained via the Web Menu.
Note for Avaya Associates : Internal Comments Click Here