Install the Pass-Thru Kit
- Snap the beige SC-SC fiber optic adapter onto the pass-thru tool. See Fiber optic adapter and pass-thru tool.
Use the beige adapter even if single-mode fiber is being installed. The beige adapter is better suited for cable routing in the next steps.
If single-mode fiber is being installed, the beige adapter will be replaced with a blue adapter later.
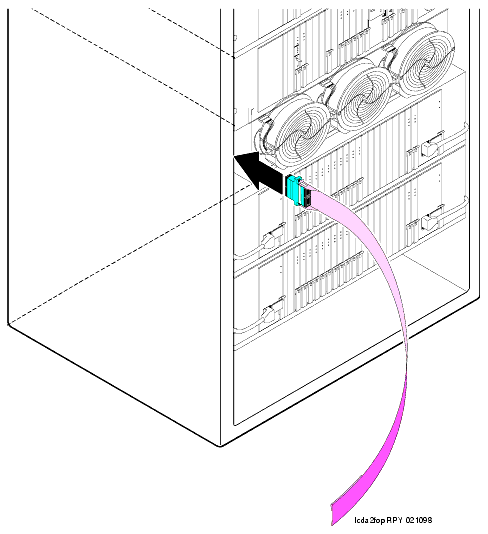
- Slide the pass-thru tool to the rear of the cabinet. See Insert the pass-thru tool.
- Slide the tool to the rear of the cabinet.
- Attach the supplied fiber optic cable to the adapter.
- Pull the tool (with adapter and cable attached) out through the front of the cabinet. See Fiber Optic Cable and Adapter.
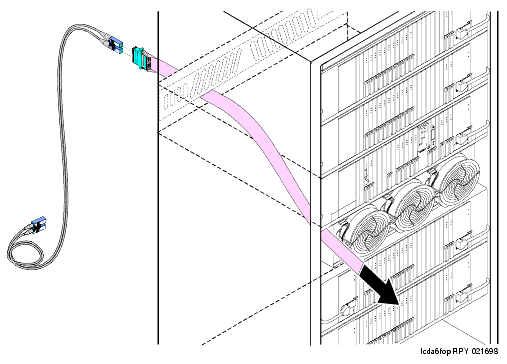
- From the rear, route the fiber optic cable through the opening vacated by the I/O cable connector.
- If necessary, remove the beige fiber adapter from the tool and plug the fiber optic cable into the SC-SC (single-mode) or SC-ST (multimode) adapter. See Bracket Attachments.
- From the front of the I/O connector adapter bracket (with fiber cable), snap the adapter into the supplied I/O connector adapter bracket.
- Snap the I/O connector adapter bracket into the I/O connector opening.
- Attach the outside fiber plant to the I/O connector on the rear of the cabinet.
- Wrap the cable disconnect label around the fiber optic cable. See Cable disconnect label.
Avoid bending fiber optic cables to a radius smaller than 1.5 inches (3.8 cm), to prevent mechanical stress on the cables. Plan the use of cable ties to avoid crimping the cable or creating a fixed stress point where, at a later time, movement of the cable causes it to exceed the minimum bend radius.
- Close the rear door.
- Dress the cable using the supplied cable ties and cable tie mounts. See Dress the cable.
- If a circuit pack was removed in the previous procedure to access 2 open slots, replace the circuit pack into its original slot.
- Close the front door.
- Discard the pass-thru tool.
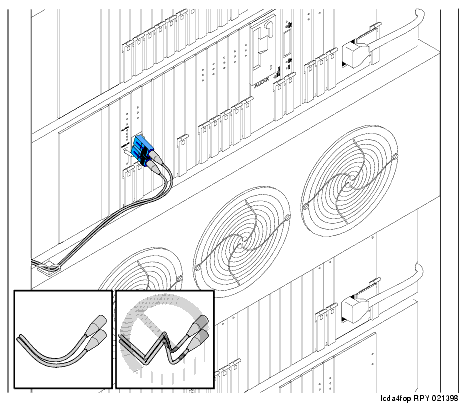
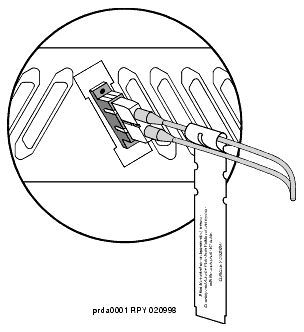
Fiber optic adapter and pass-thru tool
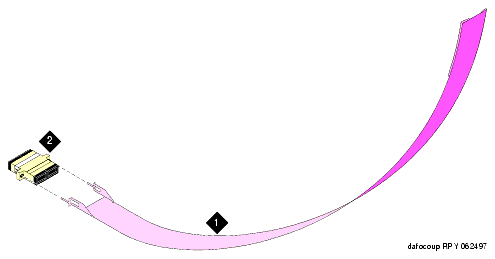
Figure Notes:
- Pass-thru Tool
- Beige SC-SC Fiber Optic Adapter
Insert the pass-thru tool
Fiber Optic Cable and Adapter
Bracket Attachments

Figure Notes:
- Fiber cable
- I/O connector adapter bracket
- SC-SC adapter
- SC-ST adapter
Cable disconnect label
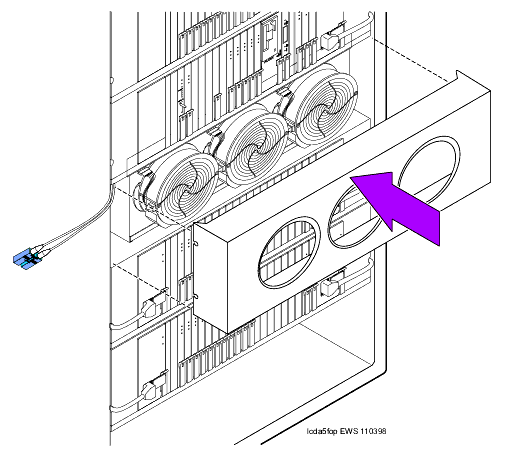
Replace the fan cover
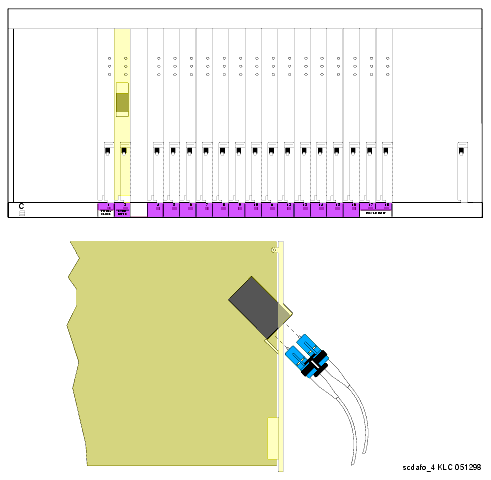
Connect fiber cable to circuit pack
Dress the cable